Everyone loves good ornament DIYs during the Christmas season! Creating DIY Christmas ornaments is nothing new, but I decided to try it myself this year and share my own process. My girls (6 and 3) loved it and it was a great way to connect and have a fun afternoon together!
I did this ornament crafts with my 6 yo last year as well. She helped me swirl the glitter around inside the plastic ornaments.
Let’s go over the supply list, and then I’ll walk you through how to make your own Christmas ornaments step by step in the pictures below.
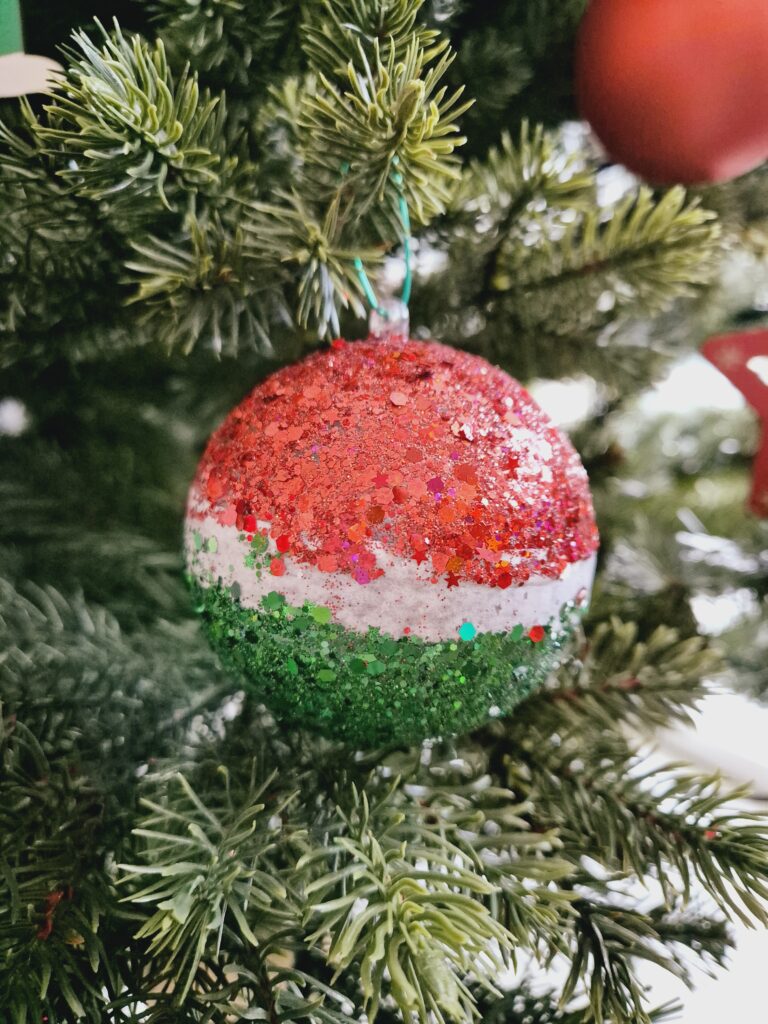
We made 5 types of ornaments:
- Mod podge and glitter – outside the ornament
- Glitter Ornaments – on inside the ornament
- Natural outdoor colors with snow, pinecones and red berries
- Glitter swirls ornament
- Different pom pom colors ornaments
Supply List:
– Plastic ornaments that will open in half
– Christmas string or hangers
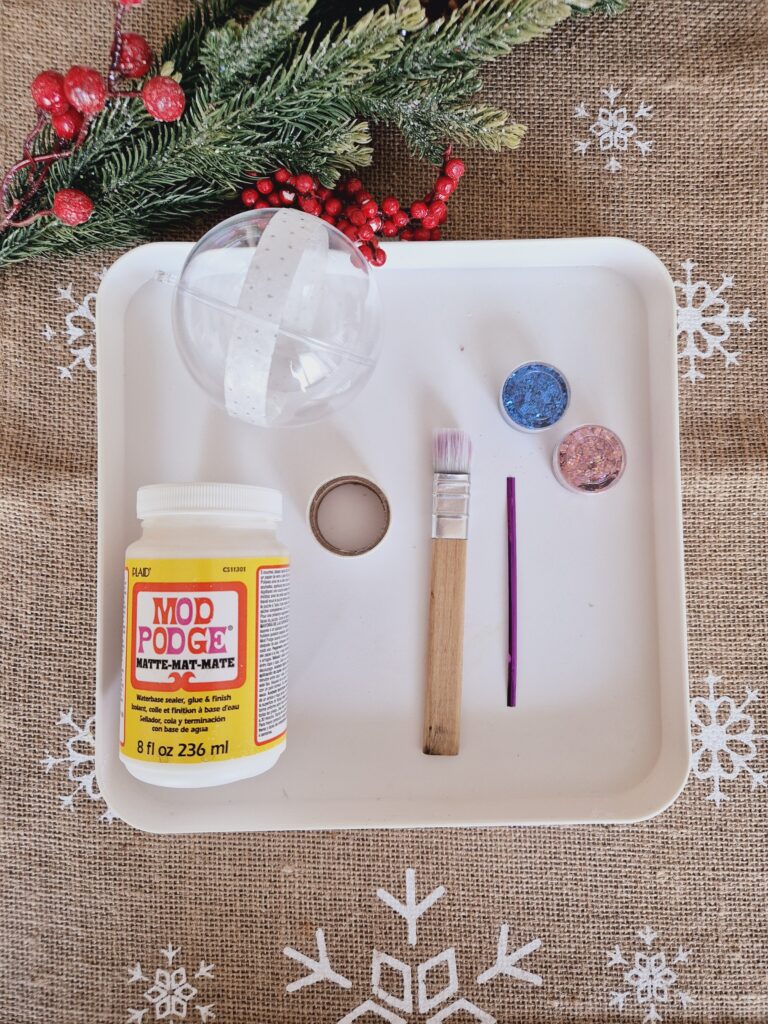
You simply need to open in the 2 halves the plastic ornament, add mod podge on each half, spread it with a sponge or normal paint brush and then pour glitter in your favorite colors! Here are 2 pictures: the supplies in a tray and the final product.


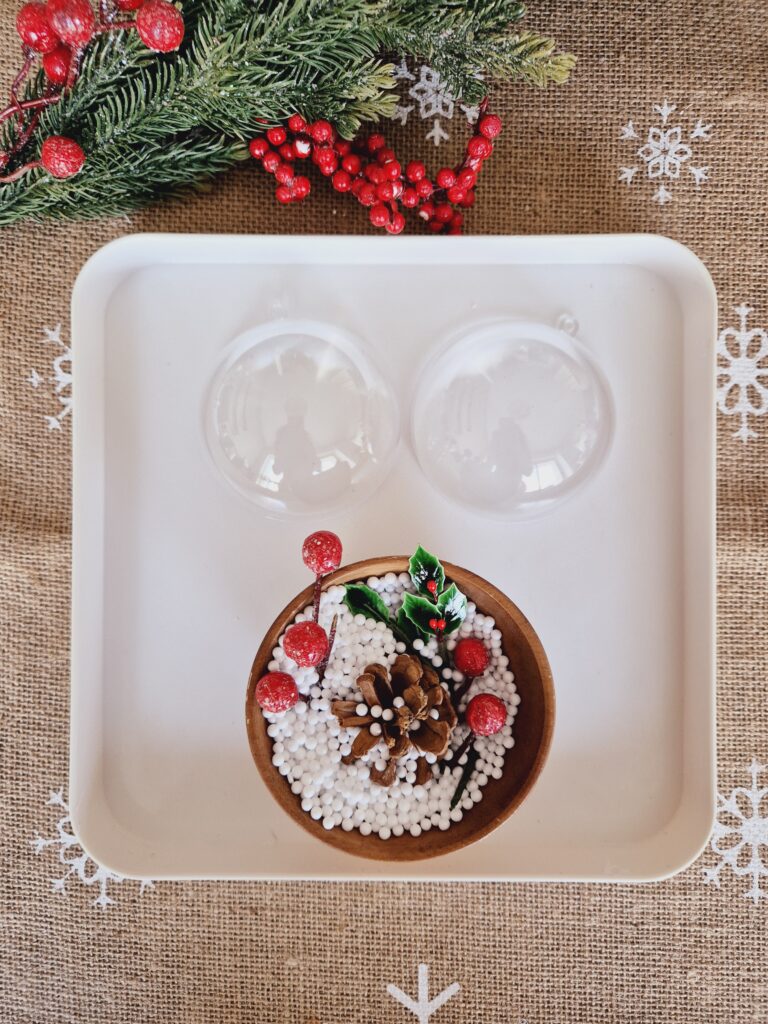
Second favorite ornament is the NATURE ORNAMENT where we used polyester small balls, plastic leaves and red berries and a little pine cone to create an outdoor scene of winter in our DIY Christmas Tree Ornament. And it went out so pretty!
Supply List:
– Plastic Ornaments
– Natural pine cone
– Plastic leaf and red berries
– Christmas string or hangers
You only need to add all these items inside the ornament, close them and hang them into your tree. They are absolutely beautiful!

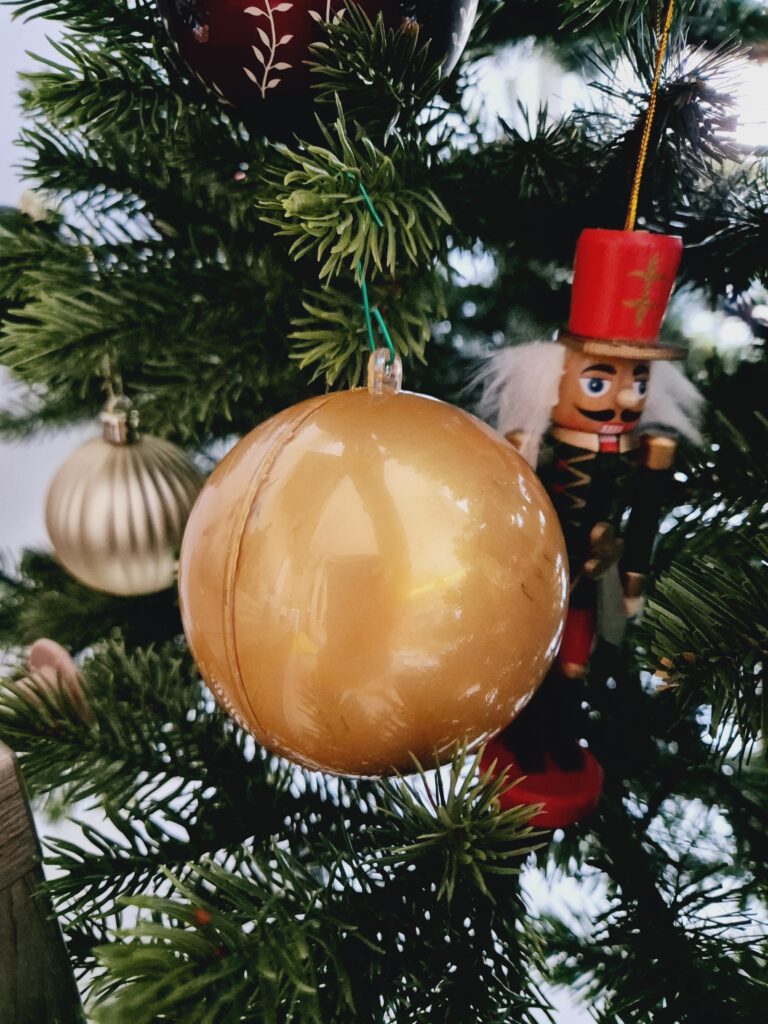
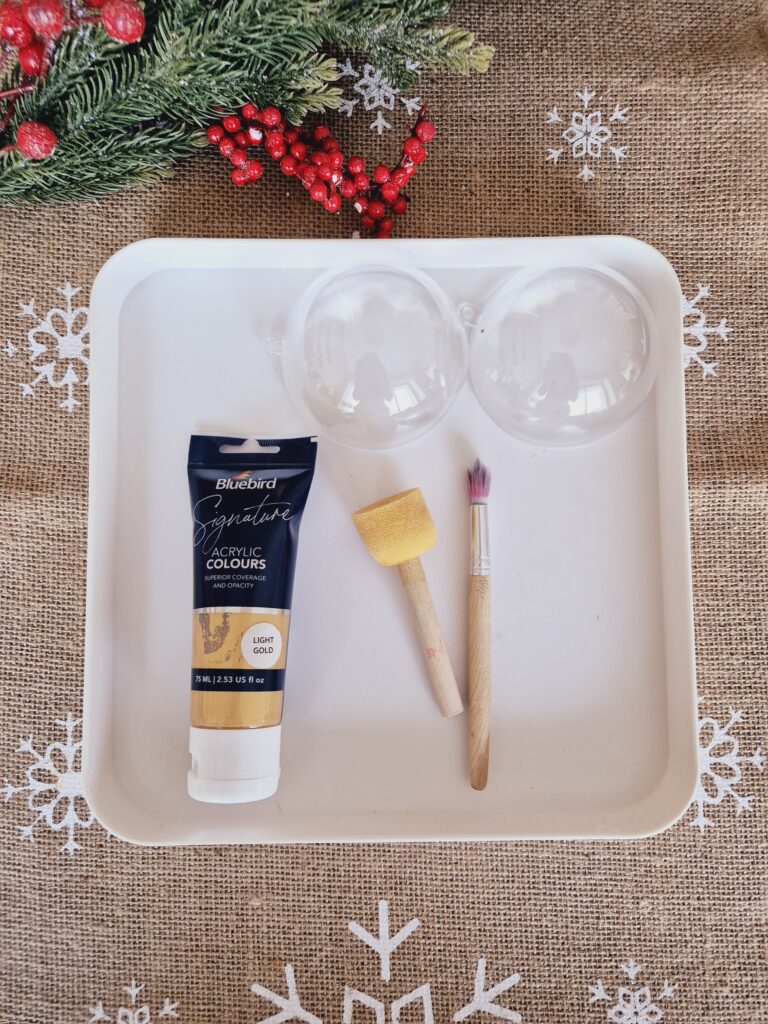
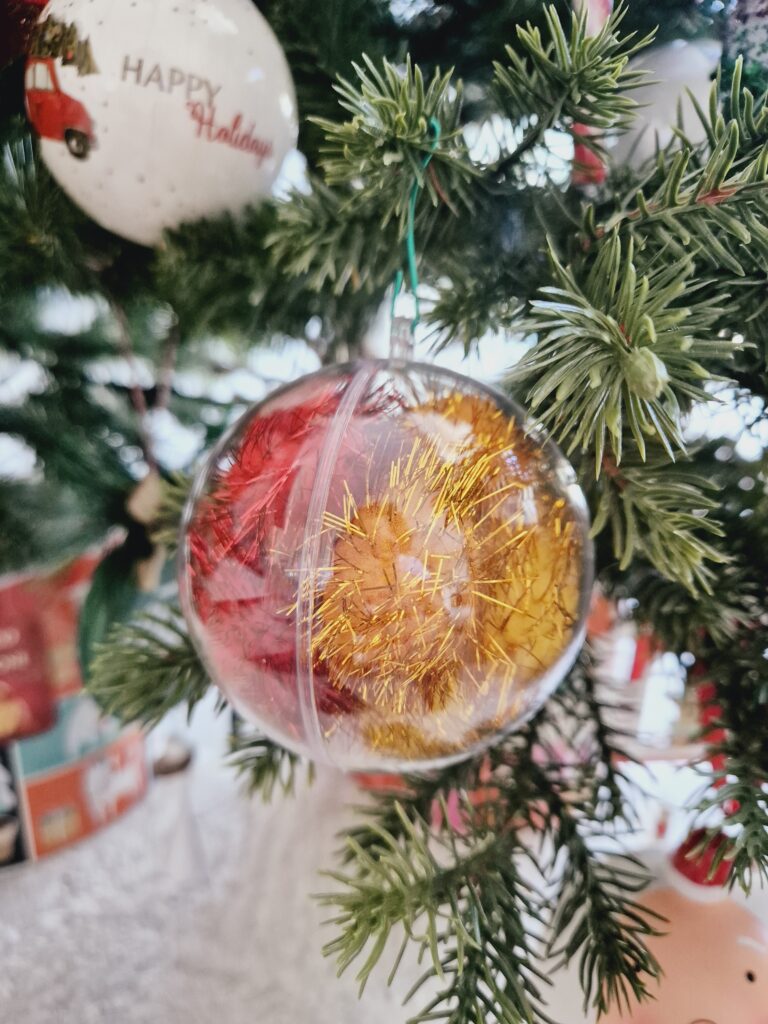
The 3rd craft is the GLITTER ORNAMENT where we used, this time, acrylic golden and silver paint to make our diy glitter Christmas Ornament.
Supply List:
– A plastic ornament
– Acrylic golden or any of your favorite glitter paint (it must be acrylic or maybe better polyacrylic or polyurethane.
– A paint brush or sponge brush
– Christmas string or hangers
Open the ornament in 2 sides, pour the acrylic paint and start to spread it all over, in an uniform manner, using your brush. Close the ornament and hang it to you tree with a tree hanger or Christmas string.

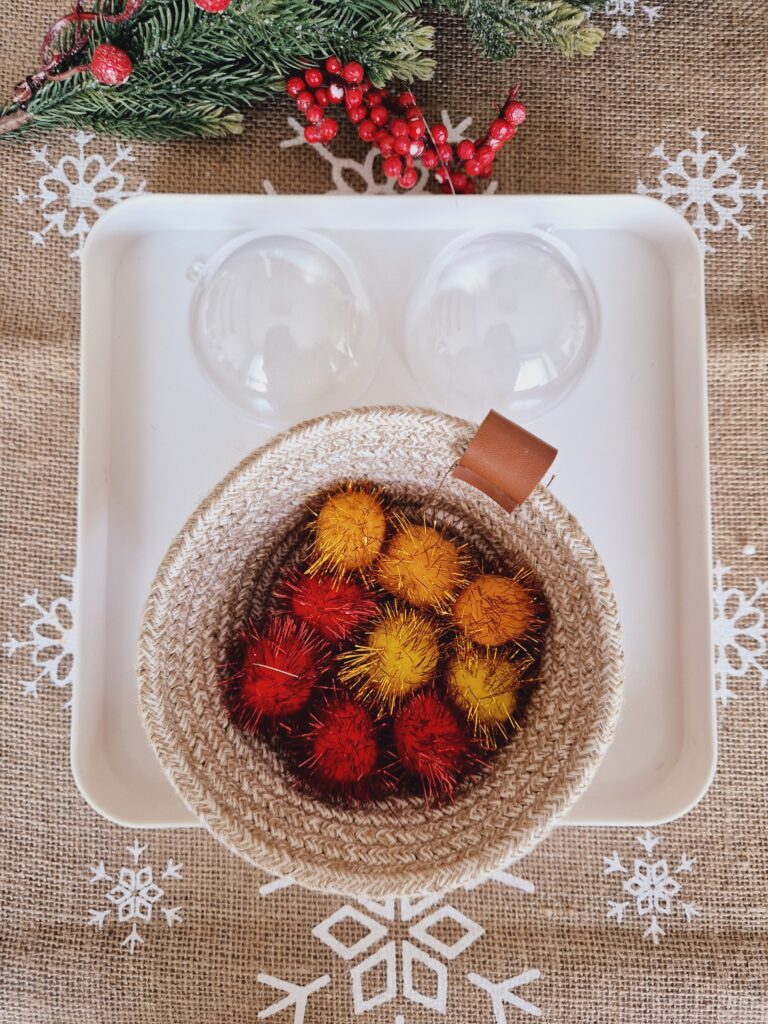
4. GLITTER POM POMS ORNAMENT
Here’s another simple yet super lovely ornament that will come out stunning and it will be a beautiful addition to your decorated tree.
Supply List:
– Plastic ornaments
– Glitter Pom Poms of all colors
– String or hangers
You just need to mix and match your favorite colors, close the ornaments and hang them on your tree.

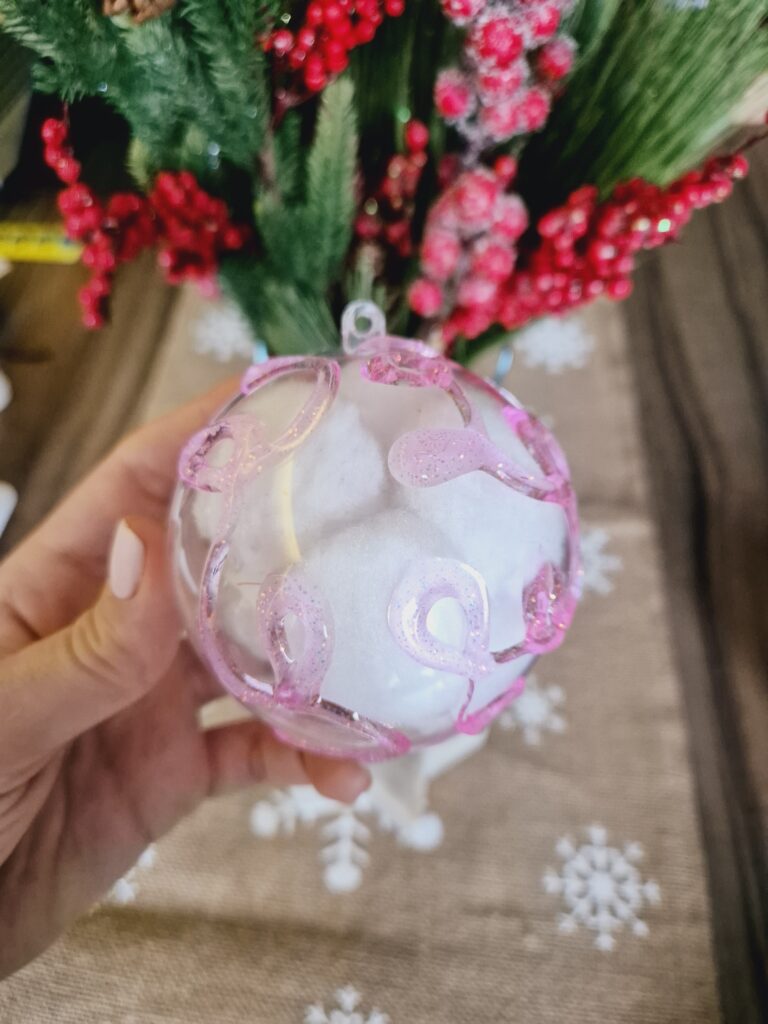
Last but not least, the GLITTER SWIRLS ORNAMENT is of stunning effect!
Supply List:
– clear glass or plastic ornament
– Tulip 3D Fabric Paint in Pink or Diamond
– String or hangers
This project is seriously the easiest…you don’t even have to take off the cap to make ornament magic happen! Starting from the top of your ornament, squeeze a small spirals onto the ornament. From that squeezed spiral, offshoot another spiral design, and another, and another.
A general rule of thumb for a great looking overall design is to have all the spirals going in the same direction.

I am so grateful you are part of our community! If you enjoyed our blog post, give us a follow on our Instagram page:
@montessoriindailylife
Subscribe to our newsletter to get the latest news, offers and amazing freebies. Plus, you will get a FREE Montessori Practical Life Mini Guide.
SUBSCRIBE HERE – go down at the bottom of the page
If you would like to know more about our last educational printables, have a look here:
Get 15% off everything right now: ETSY SHOP
FREE Advent Calendar Mega Poster– GET IT HERE
Thank you so much for being here and for your love and support! I am so glad you took your time to read our blog post!
Have a blessed day!
xoxo Raluca


