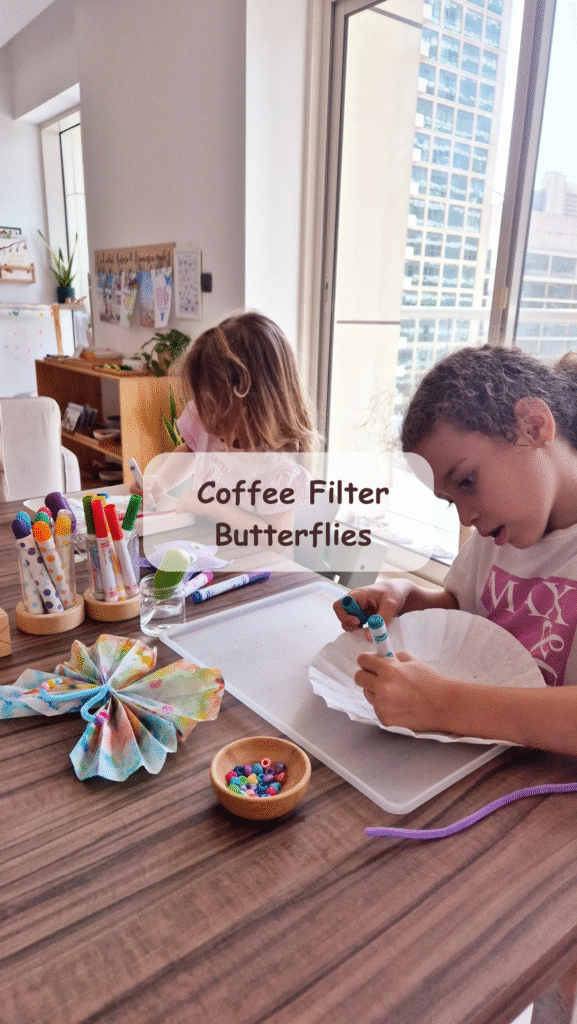
Watch us flutter into fun! 🦋 My daughters and I are making these super easy and colorful coffee filter butterflies. They’re a perfect spring art activity.
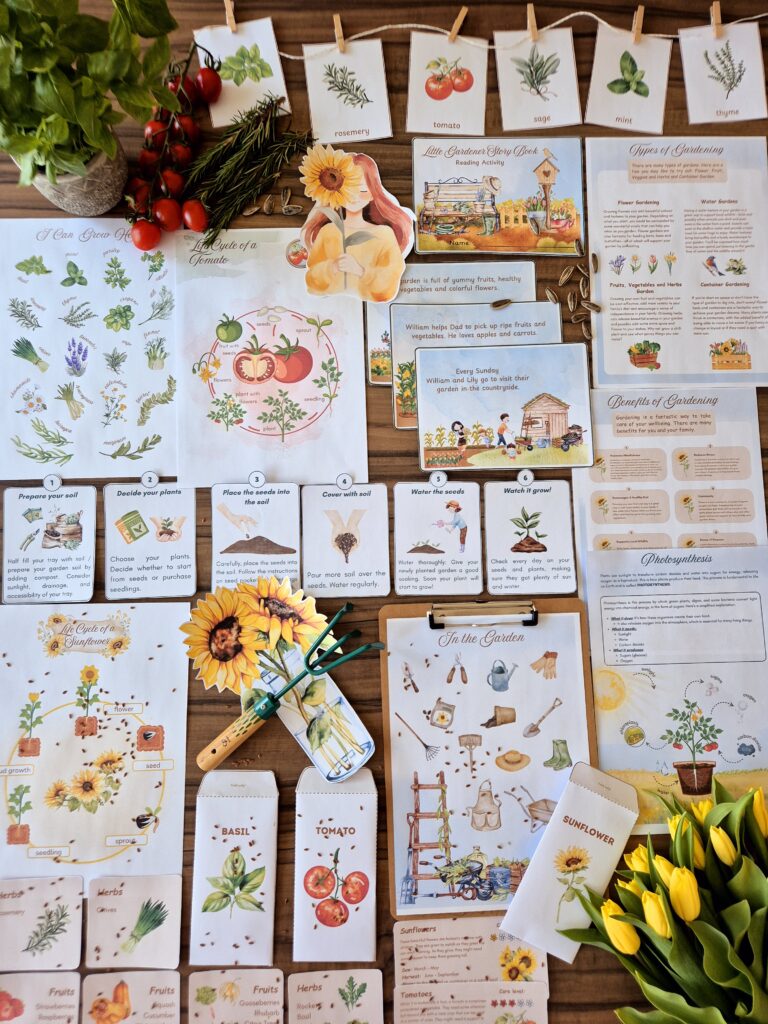
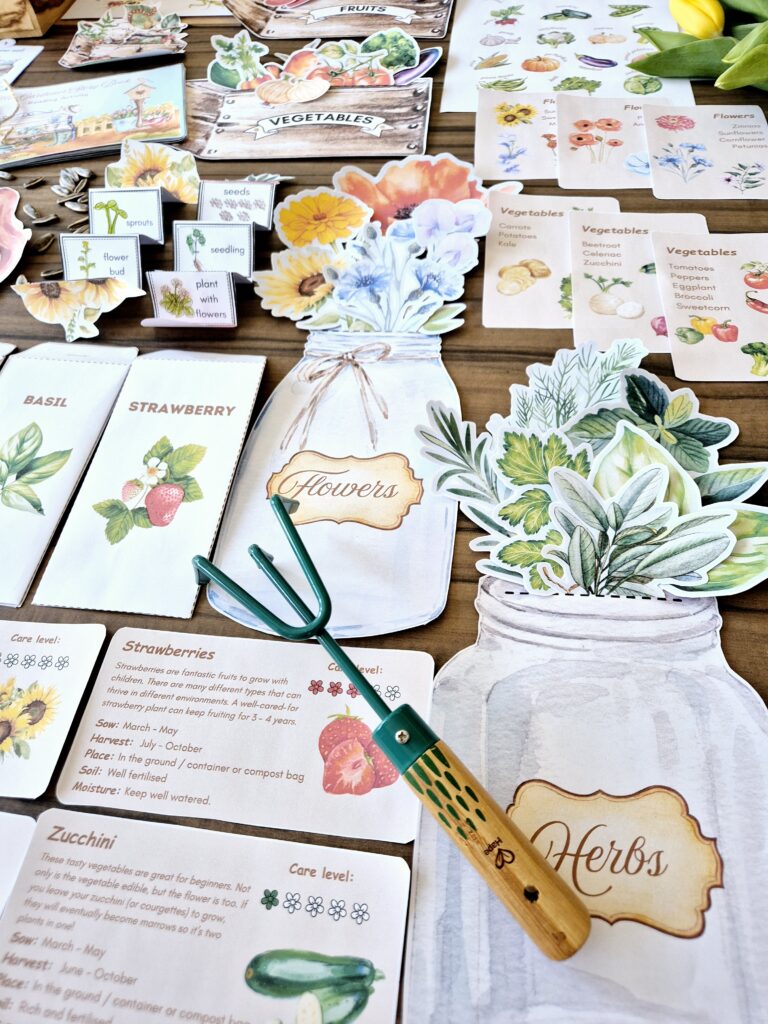
PLUS, while you’re here, you can grab a FREE Nature Alphabet Coloring Book and a set of our beautifully designed Nature Phonics Language Cards! Let’s get crafty and learn about nature together!
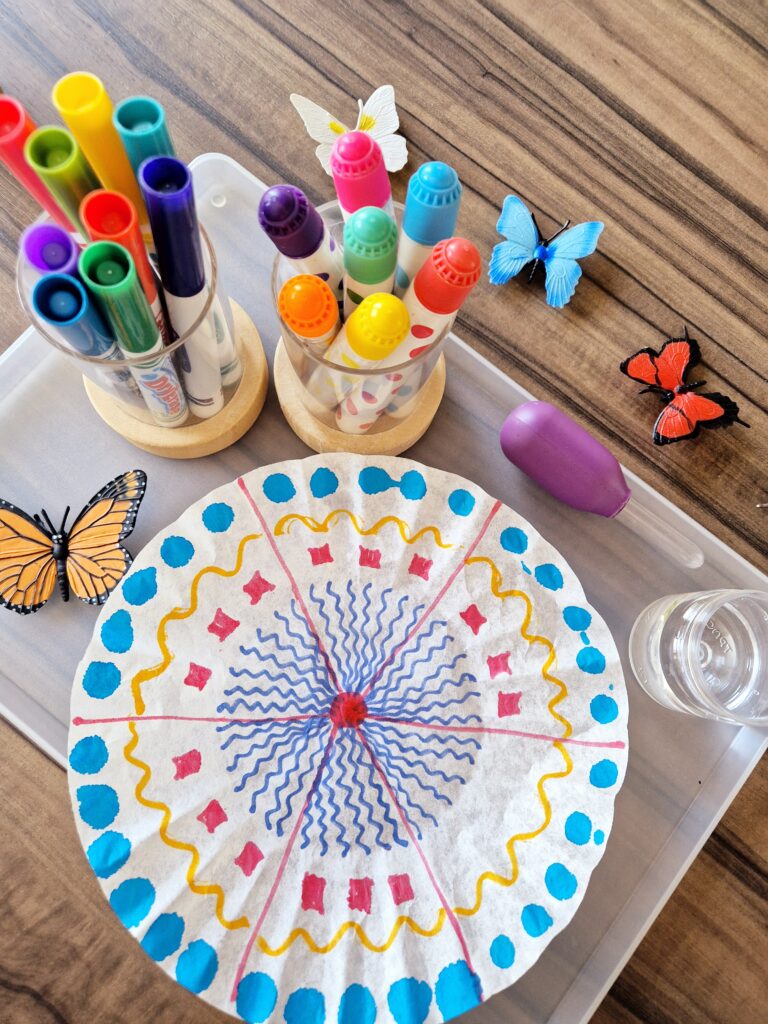
We loved to use for this activity the Crayola Washable Scented Markers and also the Dot Markers to create beautiful, bright designs for our butterflies. We don’t have but I can recommend using Mr Sketch markers as well for even brighter colors for your butterflies. But if you only have regular markers, they will definitely work too – just make sure they’re washable markers or the colours won’t blend.
How to Make Coffee Filter Butterflies
This is one of those crafts that is soooo perfect for spring or summer. 1 – It’s easy. 2 – It’s relatively low mess. 3 – It’s even a bit of a science experiment when you wet the coffee filter and watch the colours blend. Yes, my friends, this craft has it all!
WHAT DO YOU NEED FOR THE ACTIVITY
2 coffee filters for each butterfly
Washable Crayola Markers or Mr. Sketch Markers
Water
Droppers
Pipe cleaners and beads
I recommend to keep all the supplies and the working tools on a tray to contain the mess.
WHAT YOU NEED TO DO:
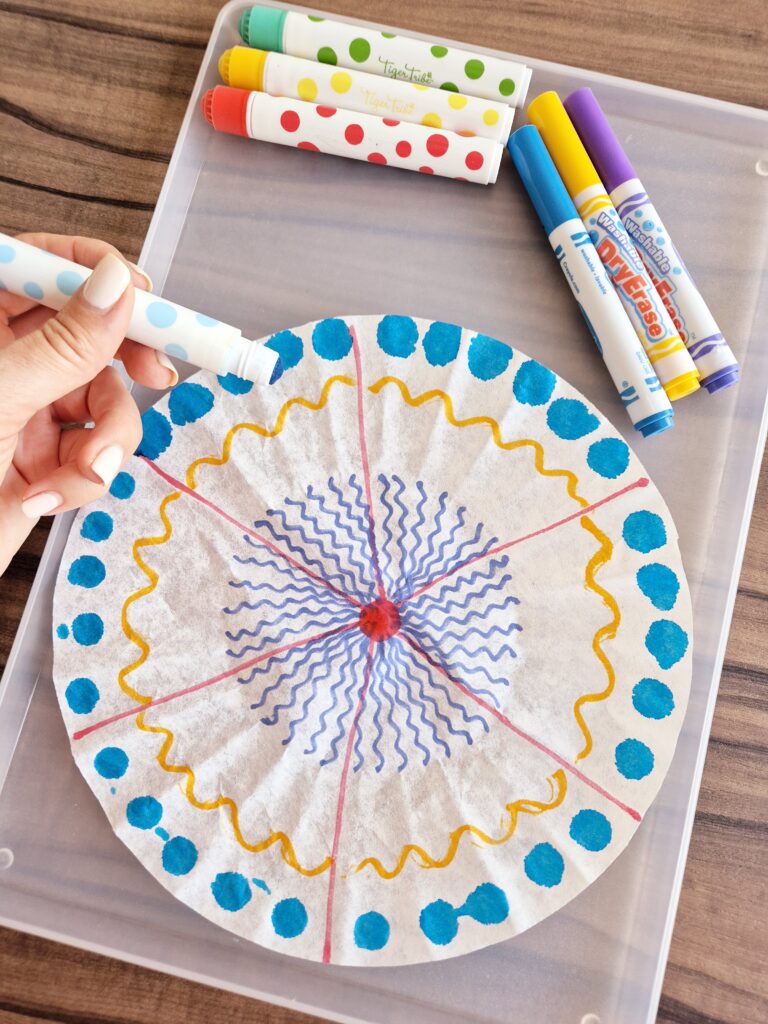
Flatten out the coffee filters a little. They don’t have to be perfectly flat, just flat enough that you can colour on them.
Put your imagination at work and create your own design, as colorful as possible
Take a dropper and pour water. Once the coffee filter is completely wet, stop pouring.
If you add a big pool of water the colours will mix together too much, plus it will take forever to dry.
I placed the trays outside so that the painted coffee filters to get dry. If it’s hot enough, it will get dry in about half an hour.
Once they are dry and you pull apart the two coffee filters, you’ll end up with two very similar looking layers.
Fold each one back and forth, accordion style, in about 1/2″ folds. (Just make sure the coffee filters are completely dry first or you’ll end up with messy fingers!)
Continue to fold back and forth until you get 2 strips with a accordion effect. Put the 2 strips on top of each other. Twist a pipe cleaner around the middle so that the two ends point upwards in a big letter “V”. Trim the ends to make them even if you need to. Next, pinch the end of each pipe cleaner and curl it outwards to make a small spiral. Finally, pull apart the folds in the coffee filter to open them up and shape your butterfly.
RECOMMENDATION: Less white you leave on the coffee filter, more brighter butterflies you’ll get. Put a lot of bright, dark colors so you can have a bright, beautiful butterfly.
Enjoy!🦋
As promised on my Instagram post, here’s the link to a beautiful FREEBIE I have for you for this week.